
Dragon Lamp
This was a fairly simple project but makes a great weekend project. The project is mostly 3D printed, but an Adafruit Circuit Playground Experience is used to provide the lighting effect. Most of this is from Adafruit’s tutorial, which is linked below. My addition was with the base I used to make the lamp.

Building it
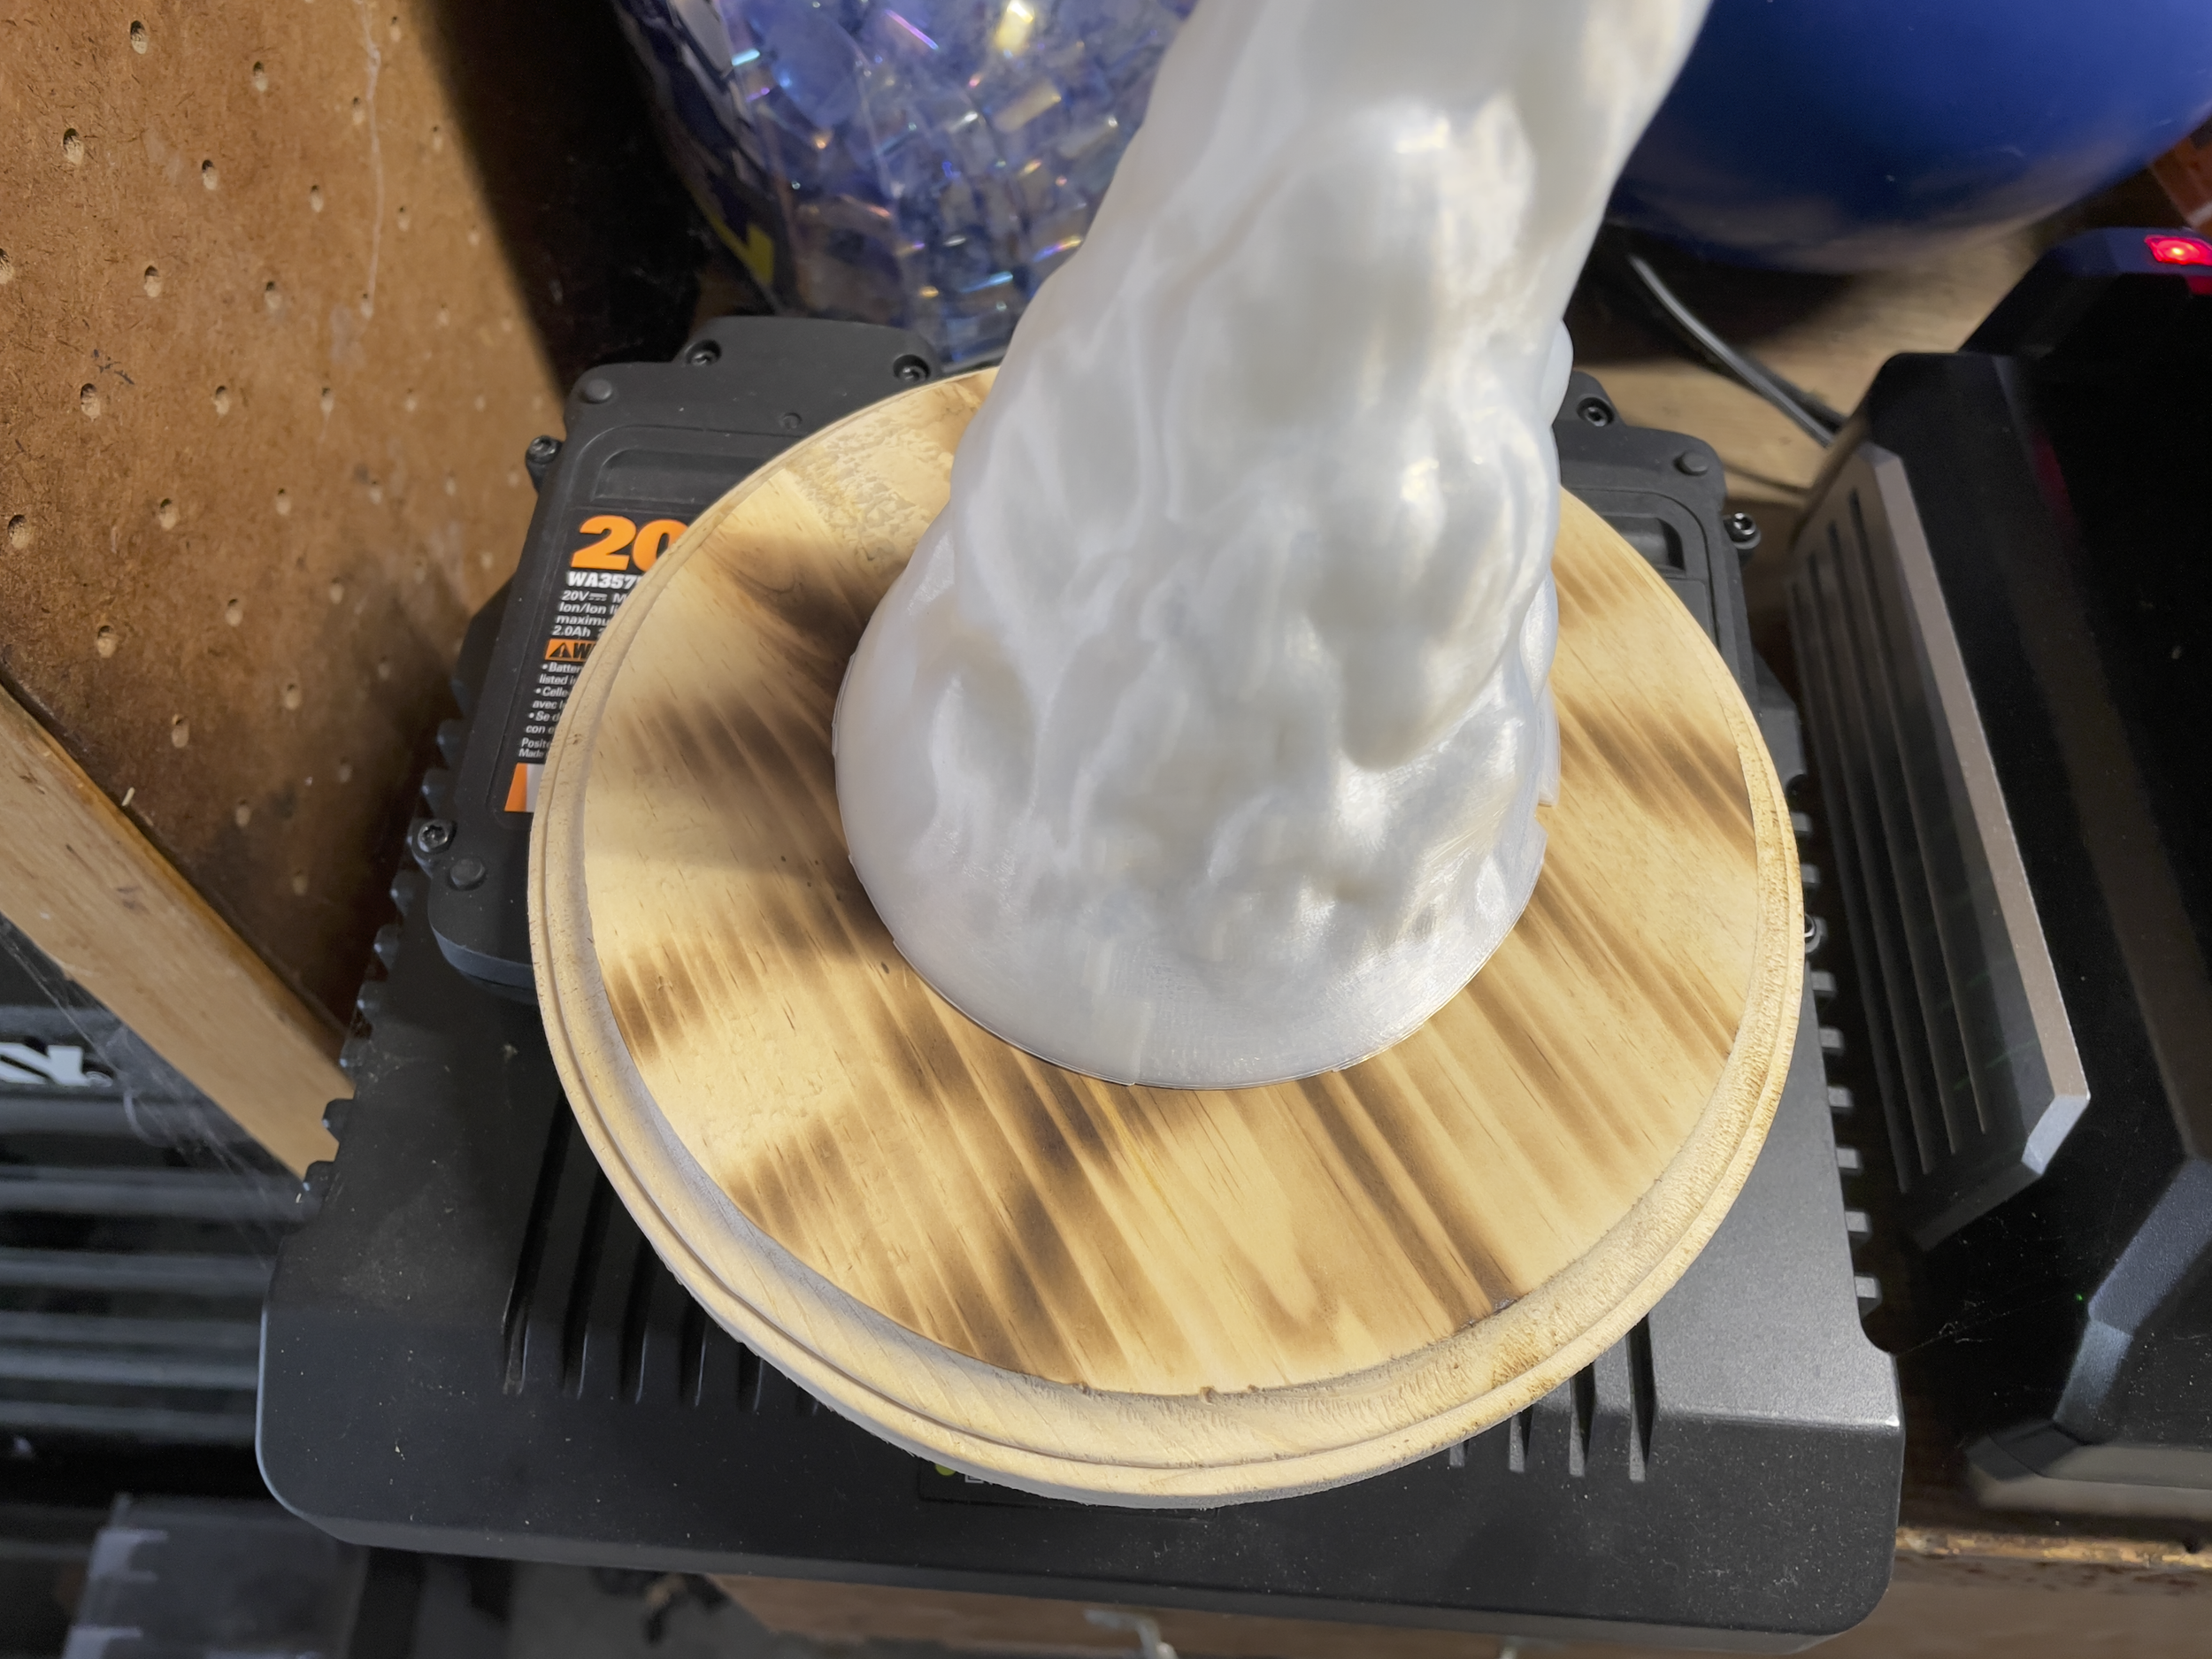
The button below will take you to the Adafruit tutorial. Most of this was based on that tutorial. However, I wanted to make a base to mount and give it a better footing. I came up with the idea to add more to the fire effect by burning the base to give it the effect that fire has/is hitting it. This was done using a simple torch to add scorch marks. I then added a light stain and sealed it. I then screwed down the CPX board and glued the 3D-printed flame.

3D printing
3D printing of this was fairly straightforward. I used a clear PLA for the flame and silky green for the dragon.

Putting it together
Once printed, the flame fits within the dragon’s mouth. The CPX board then fits in the flame cone. I didn’t use the Python code in the tutorial; instead using a slightly different version that I thought was a bit more realistic.
Final Product
The video below is the final result. Overall I was pretty happy with how this turned out. This turned out to be a gift to my brother. I may revisit the flame effect or add some additional features, but for now, it turned out pretty good.